Navigation
Featured Resource
%20(1).jpg)

Stay up-to-date with the latest news from World of WearableArt Sign up for our audience newsletter and be the first to know about ticket sales, exclusive offers, behind-the-scenes insights, and upcoming WOW experiences. Don’t forget to join the Designers newsletter if you are interested in entering the WOW Competition.
Stay up-to-date with the latest news from World of WearableArt Sign up for our audience newsletter and be the first to know about ticket sales, exclusive offers, behind-the-scenes insights, and upcoming WOW experiences. Don’t forget to join the Designers newsletter if you are interested in entering the WOW Competition.
Discover the World of WearableArt through our hub. Be inspired by breathtaking creations in this extraordinary fusion of art and fashion with profiles of past WOW designers, and stay updated with the latest news and updates for the annual WOW Show.
Looks like there aren’t any articles that match those filters.Try reseting the filters or try searching the entire website.
Stay up-to-date with the latest from World of WearableArt. Sign up for our audience newsletter and be the first to know about ticket sales, exclusive offers, behind-the-scenes insights, and upcoming WOW experiences. Don't forget to join the Designers newsletter if you're interested in entering the Competition.
Sign up as a designer to receive the newsletter.
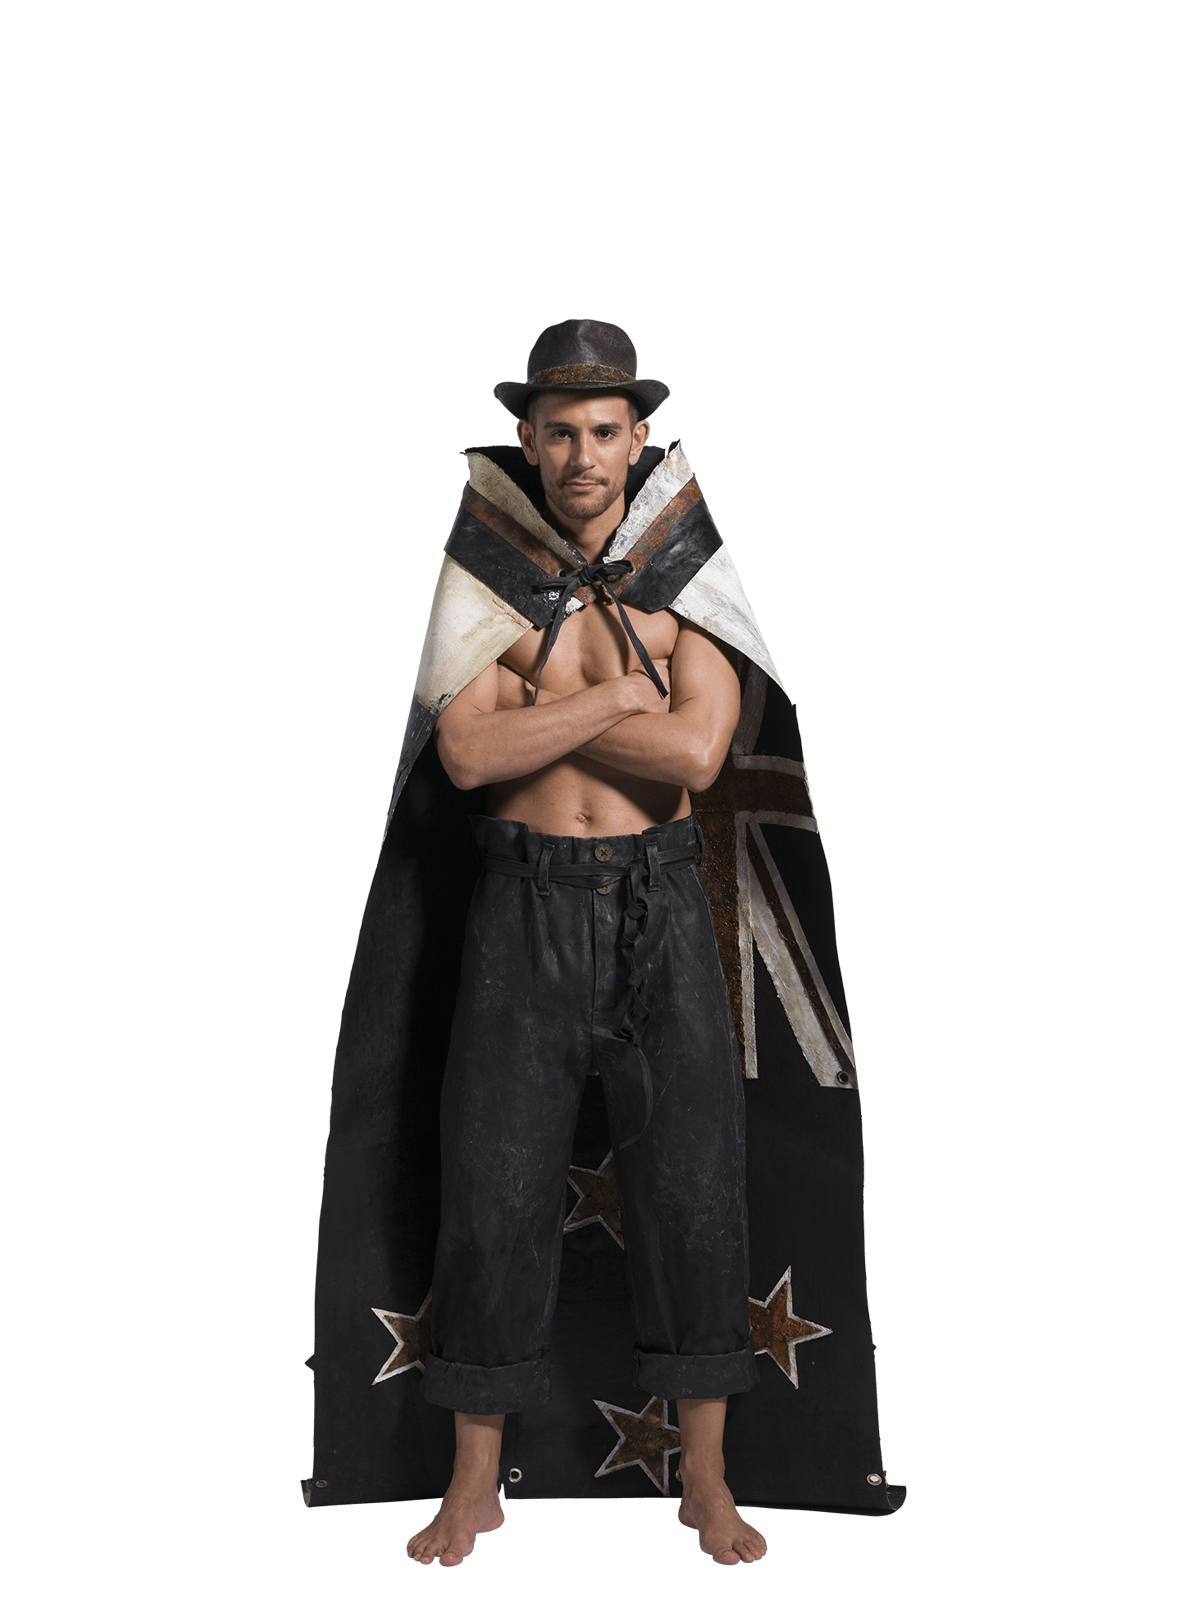
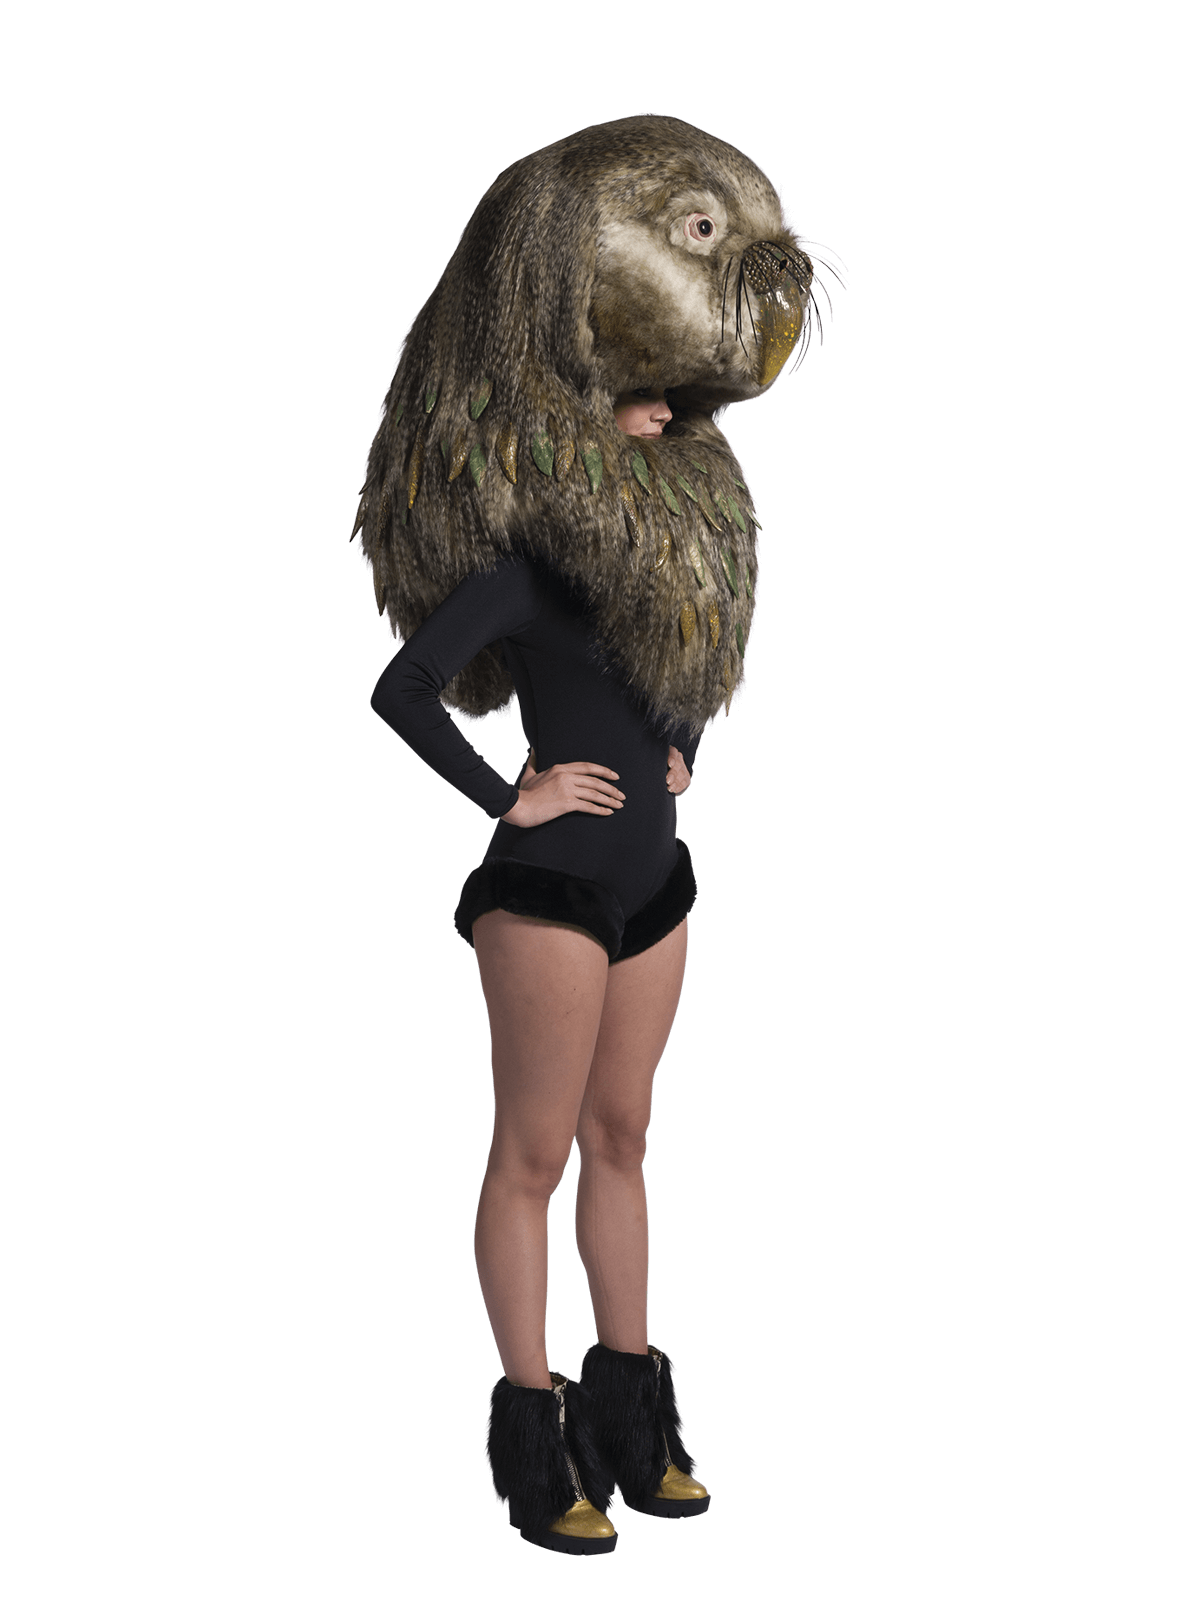
WOW is a world renowned wearable art experience, where an annual design competition culminates in a spectacular show combining theatre, art, fashion, music, & performance.


.jpg)
.jpg)
.jpg)

.jpg)

.jpg)
.jpg)
%20(1).jpg)
.jpg)
.png)

.jpg)
.jpg)
.jpg)

.jpg)
.jpg)
.jpg)
.jpg)

.jpg)

.jpg)
.jpg)
.jpg)
.jpg)
.jpg)
.jpg)

.jpg)
%20(1)-1.jpg)
.jpg)
.jpg)


.jpg)
%20(1).jpg)
.jpg)
.jpg)
.jpg)
%20(1).jpg)
%20(1).jpg)
.jpg)
.jpg)
.jpg)
.jpeg)
.jpg)
.jpg)
%203.jpg)
%203.jpg)
%204.jpg)
%204.jpg)
.jpg)
.jpg)
.jpg)
.jpg)
%202.jpg)
%202.jpg)

.jpg)


.jpg)
.jpg)
.jpg)
.jpg)


.jpg)
.jpg)
.jpg)
.jpg)
.jpg)
.jpg)


.jpg)
.jpg)
.jpg)
.jpg)


%20(1).jpg)


%20(1).jpg)
%20(1).jpg)


.jpg)
.jpg)
.jpg)
.jpg)


%20(1).jpg)
%20(1).jpg)
.jpg)
.jpg)
%20(1).jpg)
%20(1).jpg)
%20(1).jpg)
%20(1).jpg)


%2C-Dinah-Walker%2C-Mark-Walker%2C-New-Zealand.png)


.png)
.jpg)


.jpg)


.jpg)


-H.jpg)


.jpg)


.jpg)


.png)
.jpg)


.jpg)


.jpg)


.jpg)

.jpg)
.jpg)
%20(1).png)


.jpg)


.jpg)


.jpg)

.jpg)

.jpg)


.jpg)
.png)
.jpg)

.jpg)

.jpg)
%2C-Christopher-Davis%2C-New-Zealand.png)
%2C-Christopher-Davis%2C-New-Zealand.jpg)